Restoring OVOC Server
The OVOC server can be restored from the original machine where the backup files were created or from any other machine.
|
●
|
If you’re running the restore process on a different machine, its disk size should be the same as the original machine from which the backup files were taken. |
|
●
|
Restore actions can be performed only with backup files which were previously created in the same OVOC version. |
|
➢
|
To restore the OVOC server: |
|
1.
|
Install (or upgrade) OVOC to the same version from which the backup files were created. The Linux version must also be identical between the source and target machines. |
|
2.
|
Use the OVOC server Management utility to perform all the required configurations, such as Networking and Security, as was previously configured on the source machine. |
|
3.
|
If you are restoring to a new machine, you need to purchase a new license and then reload it to the server (see Managing OVOC License). |
|
4.
|
Make sure all server processes are up in OVOC Server Manager / Status menu and the server functions properly. |
|
5.
|
Copy all the files you backed up in Backing Up OVOC Server to /data/NBIF directory by SCP or SFTP client using the 'acems' user. Overwrite existing files if required. |
|
6.
|
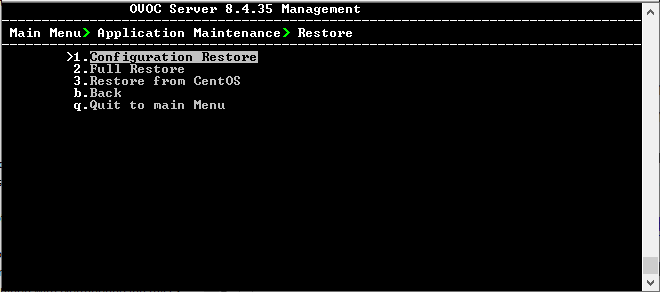
From the Application Maintenance menu, choose the Restore option. |
Restore Menu
|
7.
|
Choose one of the following options: |